Winter Decorative Knots: 6 Cozy Projects Using Thick Rope and Yarn
October 30, 2026 - Decorative Knots

October 29, 2026 - Knot Types
Some knots are fussy. The bowline is not. It makes a loop that will not tighten around whatever it holds, and it comes apart in seconds once the load is off. That combination is why sailors, arborists, and people hanging planters from ceiling hooks keep coming back to it. It is also a knot that punishes half-attention. Tied sloppily, it looks perfectly fine right up until it capsizes under load. The method below puts the working end in the right place every time and gives you a clear check before the knot takes any weight. A bowline is at its best when you need a loop that stays the same size — a fixed eye around a post, a halyard clipped to a sail, a line around a tree — rather than a noose that cinches down.
Two words do most of the work in any bowline explanation. The working end, or tail, is the short end you move around. The standing part is everything else, the long side that will carry the load. The small loop you build in the standing part is the "hole" of the rabbit-and-tree rhyme, and the turn that finally wraps the standing part is the collar. Once you can see those three things, the knot stops being a trick and becomes a structure.
Rope choice matters more than most tutorials admit. Laid rope, braided rope, and anything with a bit of texture hold a bowline well. Very stiff or very slick cord — new polypropylene, thin high-modulus line, monofilament-type cord — can let a bowline shake loose when it is not under tension. You can still use them. Just plan on the backup described below. A stiff length of hardware-store poly, for example, may need a tighter dress and a longer tail than a soft piece of yacht braid.
Work with about a metre of rope while you are learning. Short lengths are easier to see and easier to correct.
The rabbit comes out of the hole, goes around the tree, and goes back down the hole.
On a correctly tied bowline the tail emerges inside the loop formed by the collar, and the collar sits neatly around the standing part rather than beside it. If the tail comes out on the outside, you have tied what is often called a cowboy bowline — a real knot, but one that rolls out more easily under a flogging load. Retie it.
Dressing means tidying the knot before it goes to work: no crossed strands, no figure-eight hiding inside the collar, the two strands of the collar lying parallel. It takes five seconds and it is the difference between a knot that holds and one that capsizes the first time it is shock-loaded.
Afterwards, load it firmly once by hand. A bowline is not really finished until it has been set. Pull the standing part and the loop against each other, watch how the collar beds down, then check the tail again. This is also the moment to check that the loop is the size you actually wanted; changing it later means slackening the knot and re-seating it.
Tail length: a common working rule is a tail about a hand's width long, roughly ten times the rope's diameter. That is enough for the knot to stay put and short enough not to snag. Never trim rope that does not belong to you, and never trim until you have tied the knot several times and know your own preferred length.
Nine times out of ten the hole was formed in the working end rather than the standing part, so the knot has nothing solid to grip. The other usual cause is a knot that was never dressed: a crossed collar can flip inside out the moment it is loaded. Untie completely, rebuild the loop in the standing part, and make sure the tail finishes inside the collar.
That usually means you pulled too much rope through on the last step. Untie and start with the small loop further from the end. A long tail is not dangerous in itself, but it catches on branches, hooks, and hardware, and it wastes rope you might need elsewhere. If you like a generous tail — many decorative and craft uses do — leave it and add a stopper knot so it looks deliberate.
If less than a hand's width remains after you have set the knot, retie. A stubby tail can work its way back through the collar when the rope is shaken or slackened repeatedly. This is the most common reason a bowline fails in practice, and the fix costs a minute.
You have probably tied an overhand where the collar should be, or the working end crossed itself on the way back down. Do not try to tease it into shape. Slack the whole knot, look at which strand lies on top, and start again. Retied from scratch, a bowline takes less time than fixing a bad one.
This is a known trait, not a mistake. A bowline is not a self-locking knot; it needs tension to stay tight. When you slack a line repeatedly — a flag halyard in gusty wind, a tarp tie-down that flaps, a boat moored where the tide changes — the collar can work loose. Add a backup or choose a knot that locks.
A hard-loaded bowline can be stubborn to untie, especially in small or slick cord. Break it by pushing the collar back toward the loop rather than picking at the tail. If it still will not move, work the standing part back and forth to loosen the weave, then push the tail through from the inside. This is one reason bowlines are less popular for loads that will be tied and untied all day.
Use a bowline when you need a loop that will not squeeze. Good examples include tying a line to a ring, attaching a halyard to a sail, hanging a planter, or securing a guyline to a stake where the loop should stay open. It is also handy around camp because it unties quickly even after it has been loaded.
It is not the best choice for every job. Do not use a plain bowline as a running noose, as a bend to join two ropes, or as the only knot in a life-safety system unless you are trained and using an appropriate backup. It can also shake loose on a slack line. For those jobs, choose a knot designed for the task — a sheet bend for joining ropes, a figure-eight loop for a fixed loop that will be inspected and backed up, or a tensioning knot for guylines.
If the line will be shaken, slackened, or used somewhere failure matters, secure the bowline. The simplest backup is a stopper knot in the tail — an overhand or double overhand — tied close enough to the collar that the tail cannot pull back through. Some people prefer a Yosemite finish, which tucks the tail back around the collar for a tidier and more secure result. The double bowline adds an extra turn and suits slick rope, while the water bowline uses a clove hitch as the hole and resists shaking loose better.
Practice the plain bowline until you can tie it without looking, then practice checking it. The knot is only as good as the glance you give it before it takes weight.
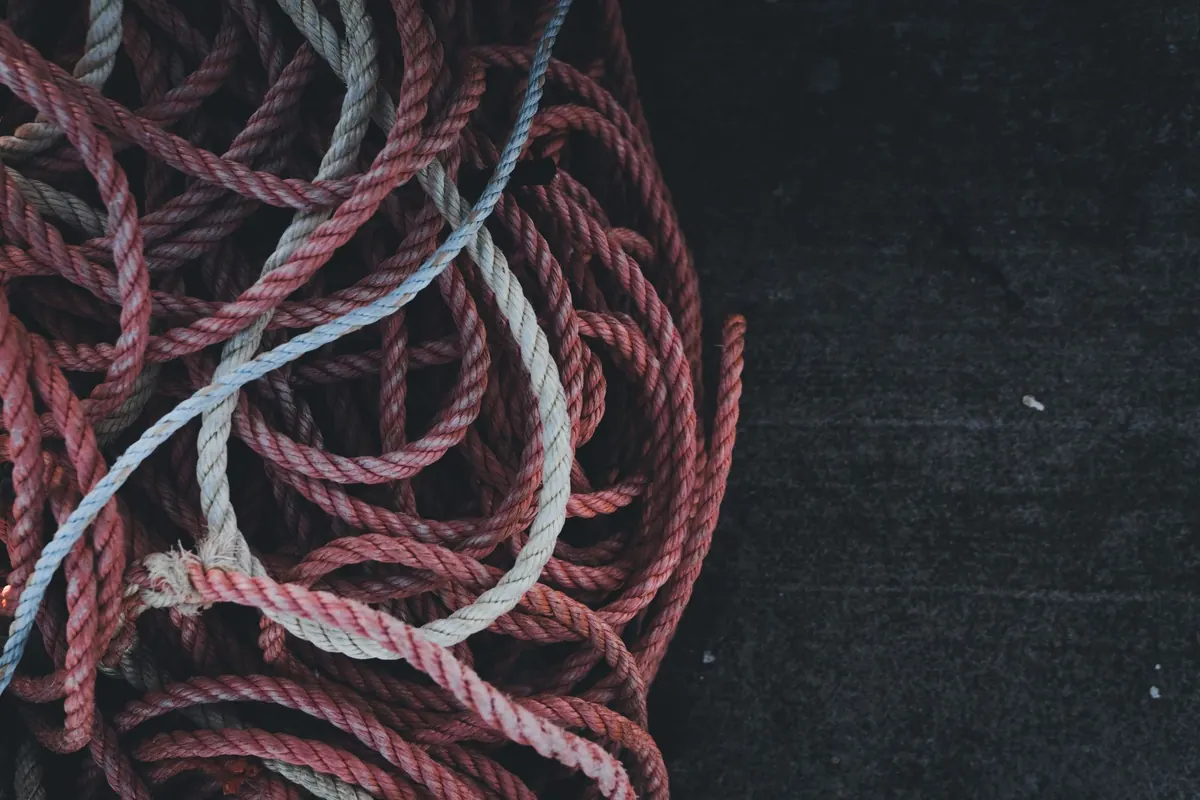
Photo: Ellie Burgin / Pexels
Six winter knot projects in thick rope and chunky yarn — wreath, doorstop, garland, trivet, basket and ornaments —...
A guide to traditional Italian maritime knots — bowline, clove hitch, constrictor — and how their forms translate...
Copyright © 2026 Nodi Lontano. All Right Reserved.