Winter Decorative Knots: 6 Cozy Projects Using Thick Rope and Yarn
October 30, 2026 - Decorative Knots

October 29, 2026 - Knot Types

The first cold week always sends me back to the basket of rope ends. Thick cotton, a ball of chunky wool, a pair of sharp scissors — nothing else required, and suddenly there is something to do with hands that are too stiff for fine thread. Winter crafting rewards weight. Thin twine disappears against a dark windowsill; a 12 mm rope holds its shape, catches the low afternoon light and looks deliberate on a shelf or a door. The six projects below use that weight. Five are finished in an evening; the doorstop is worth stretching over a weekend.
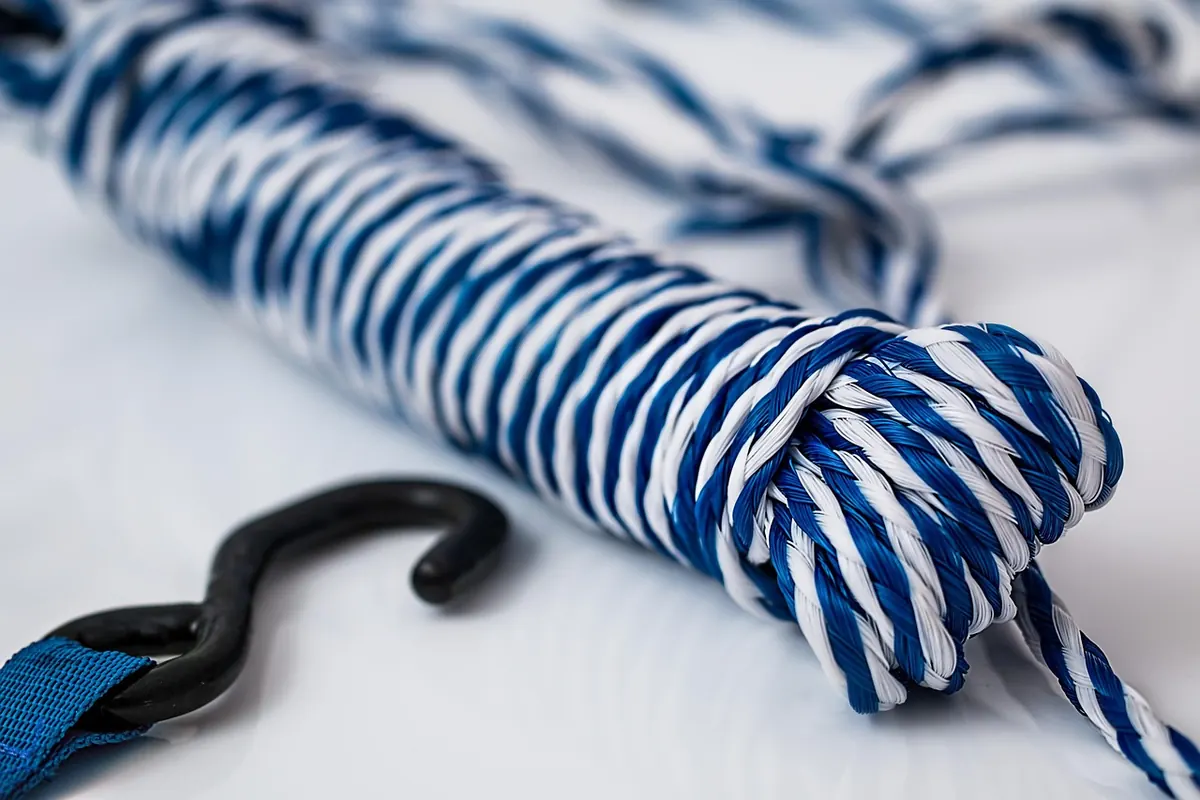
Thickness matters more than colour. For decorative knots you want rope between 8 and 15 mm, because anything thinner reads as utility cord and the knot structure stops being visible from across a room. Cotton is the kindest fibre for pieces that get handled — wreaths, garlands, baskets — since it stays soft, takes dye well and holds a knot without slipping. Jute and hemp are rougher, smell faintly of the field, and suit trivets and rustic wreaths. Synthetic rope is cheap and strong, but it is slippery: knots work loose, and hot glue does not grip it for long.
Buy roughly a tenth more rope than the project lists. You will cut one length too short, and the second trip to the shop is always the one that costs you a whole afternoon.
Cut three metres of 12 mm cotton rope and form a ring by overlapping the ends by about eight centimetres. Whip that join tightly with waxed thread — small, even stitches close together — because this is the point that will fail first when the wreath hangs. Then wrap: tape four metres of chunky yarn to the ring and wind it around the rope, pushing the coils together as you go so no rope shows through. Change colour every third of the way round if you like. Finish with three small yarn tassels at the bottom and a loop of jute for hanging. Keep the whole thing light; heavy wreaths pull away from adhesive hooks.
This is the one worth taking slowly. Work three loops around your fingers in one direction, three more around the resulting bundle at a right angle, and three more around the whole thing in the third direction. Slip the loose cage off your hand and insert the core: a rubber ball, or a small cloth bag filled with sand and knotted shut. Tighten one pass at a time, easing slack around the cage rather than pulling hard on a single end. Use 8 mm rope for a fist roughly the size of an orange. Add a short looped handle of rope, stitched into the top, so it can be lifted without undoing your work.
Cut two metres of jute twine as the spine and lay it flat along a table. Cut yarn into 20 cm lengths — cream, oatmeal, one deep colour — and attach them with lark's head knots spaced about eight centimetres apart.
Finish each end of the spine with an overhand knot and a single fat tassel. The garland weighs almost nothing, so it can be pinned above a window with two small nails.
Coil 6 mm cotton rope into a flat spiral about 20 cm across, holding the first turns with a dab of glue while you find the shape. Then stitch: bring the needle through two adjacent rings at a time, working around the spiral with waxed thread and pulling each stitch firm. Tuck the final end under the last coil and stitch it down flat. A note on heat — many synthetic ropes soften well below the temperature of a hot pan, and even cotton can scorch, so treat a rope trivet as a surface for warm dishes and teapots rather than a pan straight off the hob. If you want certainty, set a cork mat underneath.
Choose a bowl you already own as a mould and turn it upside down. Coil 10 mm cotton rope into a flat disc for the base, stitching each ring to the last, then lay the disc on the bowl's base and continue coiling up the sides, gluing as you go and stitching every few rings for strength. When you reach the rim, wrap the last ten centimetres of rope tightly with yarn to hide the cut end. Add a handle across the top: two one-metre lengths of rope worked in flat square knots, ends whipped and stitched inside the basket. It holds keys, yarn leftovers or kindling.
For the pom-poms, wind chunky wool around three fingers about forty times, slide it off, tie firmly through the middle with a long tail and cut the loops open. Trim until round. Leave one tail long enough to hang. For rope ornaments, tie a loose figure-eight in 12 mm cotton, work a small loop into the top, and trim the ends neatly. Stay away from anything heavy or sharp-edged on a tree, and keep yarn ornaments above toddler height. Undyed cream, moss green and one dark red make a restrained set.
Two habits separate a neat piece from a homemade one. First, whip or wrap every cut end — masking tape is fine for an evening, but a waxed-thread whipping lasts years. Second, block flat pieces under a heavy book overnight so the coils settle. Cotton rope does not melt, so its ends can simply be taped or stitched; synthetic rope must be cut carefully, ideally outside, because a melted end is permanent and the fumes are unpleasant.
Dust gathers in thick rope, so shake wreaths and baskets out every few weeks and go over them with a brush attachment. Keep wool pieces away from damp sheds and store them in loose coils rather than tight knots, which leave creases that never quite come out. If a piece is heading for a porch, choose jute and accept that it will weather.
None of these projects needs a workshop, a drying rack or a particular skill level. They need rope, yarn, sharp scissors and a couple of hours when the light has gone. Start with the garland if you are new to knots, move to the wreath once your lark's heads sit evenly, and save the monkey's fist for a weekend when you can afford to undo a pass and begin again. Rope is forgiving like that — unlike wool, it does not felt, and unlike paper, it survives being pulled apart. Make one for yourself, make a second for someone whose hallway is too bare in January.
Photo: Erik Mclean / Pexels
A guide to traditional Italian maritime knots — bowline, clove hitch, constrictor — and how their forms translate...
A practical pre-hang checklist for knot projects: how to dress, tug and load-test your knots, judge tail length, and...
Copyright © 2026 Nodi Lontano. All Right Reserved.