Winter Decorative Knots: 6 Cozy Projects Using Thick Rope and Yarn
October 30, 2026 - Decorative Knots


October 29, 2026 - Knot Types
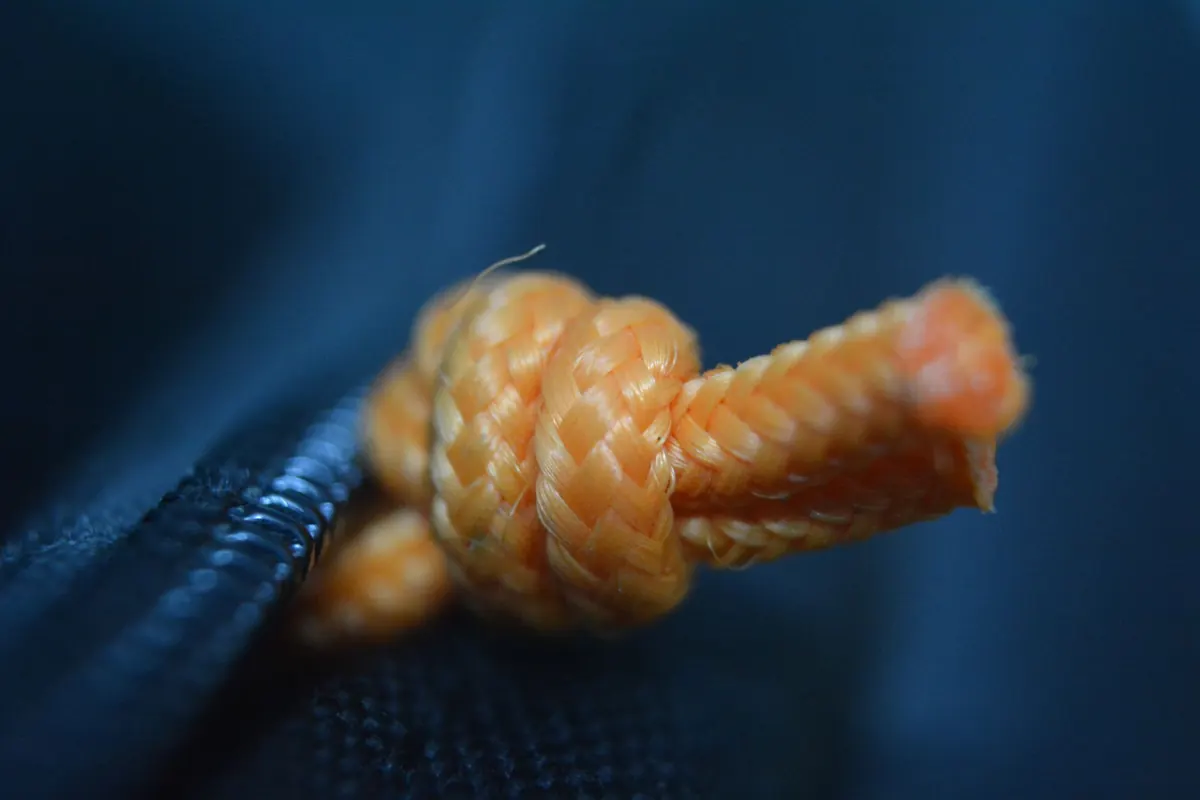
A plant hanger looks finished the moment the last square knot is dressed. It isn't. The real test comes an hour later, when a pot of damp soil has been pulling on the cord and the spiral you lined up so carefully has crept two inches to the left. Slippage rarely announces itself. It arrives as a slow sag, a lopsided ring, a tail that has shrunk to a stub. Checking for it before you hang anything takes five minutes. It is also the difference between a piece that stays put for years and one you retie in a fortnight. What follows is the checklist worth running through every time, whether you are hanging a small air plant or a two-metre wall piece.
Tight is not the same as hard. A knot pulled with white-knuckle force distorts, curls the cord, and often sets unevenly — one side compact, the other loose and ready to move. What you want is a knot that is dressed and firm: each pass lying flat against the one before it, the whole structure compact enough that you cannot slide a fingernail under the collar.
Dressing matters more than force. Before you pull anything hard, work the slack out of the knot with your fingers, one pass at a time, until the shape matches the one in your head. Only then do you tighten. A dressed knot tightened gently will outperform a sloppy knot yanked hard, every time — and it will be far easier to undo later if you need to.
One more thing worth naming: tension in the knot and tension in the cord are two different jobs. The knot should be firm; the cord between knots should be taut enough to hold its line but not so tight that it fights the structure. Loose bridging cords are a common cause of sag that gets blamed on the knots themselves.
Run this in order, on the finished piece, before it goes anywhere near a hook. It takes a couple of minutes and catches nearly everything.
Testing under load is not the same as tugging by hand. Hand pressure is brief and evenly applied; a hanging pot is slow, constant and slightly swinging. Try to imitate the second, not the first.
Hook the piece over a door handle or a sturdy hook and pull down with steadily increasing force over about ten seconds — enough to feel genuine resistance, not enough to break anything. Watch the knot, not your hands. Any visible movement between passes means the knot is not set; retie it rather than adding a backup and hoping.
Load the piece with roughly the weight it will carry and leave it for at least an hour, ideally overnight. A jug of water or a bag of rice works well for a plant hanger; for a wall hanging, clip on a couple of clothes pegs and a light bag. Then measure the drop. Even a few millimetres of creep in the first hour tells you the knot is still settling, and it will keep settling on the wall.
Give the loaded piece a gentle swing and a half-turn, then let it settle. This exposes the knots that hold under a straight pull but fail under torsion — common in spiral designs and anything with a lark's head at the top. If the ring rotates out of position and does not return, your top attachment needs more grip.
Tails are the cheapest insurance in knot work. A tail that is too short gives the cord nothing to bunch against as it tries to slide, and it leaves you no room to add a stopper knot or a finish later.
A workable rule: leave at least four to six times the cord's diameter beyond the knot before you do anything else with it. On a 5 mm cotton cord that is roughly 2–3 cm, and it should feel like the minimum, not the target. For anything that will hold real weight — a plant pot, a swing seat, a curtain tieback under tension — double it and trim afterwards. Trimming is easy; lengthening a tail is not.
Also plan for the finish. If you intend to whip the end, add a bead, or tie an overhand stopper, measure with that in mind. A tail that ends exactly where the knot ends looks neat on the table and fails on the wall.
Some cords are forgiving and some are not, and knowing which you are holding saves you from false confidence.
When you switch cords, rerun the whole checklist. A knot that held perfectly in jute is not the same knot in slick nylon.
If a knot fails the tests, resist the urge to just pull harder. Try these in order:
A dab of fabric glue on a decorative tail can help, but treat it as a finishing touch, never as the thing holding the weight.
Before anything goes on a wall, hang it on a temporary hook with a stand-in load, give it a gentle swing, and walk away for twenty minutes. Come back, check the tails, check the collar of each knot, and measure whether the piece has dropped. If it has held steady, you are ready to commit.
Then hang it properly, with fixings suited to the wall and the weight. A well-tied knot cannot compensate for a loose anchor, and anything heavy or overhead deserves a fixing rated for more than you think you need — if you are unsure, ask someone who fits anchors for a living.
Do this every time and it becomes automatic, like checking a seam before turning a garment inside out. The knots you trust are simply the ones you tested.
Photo: AMOL NAKVE / Pexels

Six winter knot projects in thick rope and chunky yarn — wreath, doorstop, garland, trivet, basket and ornaments —...
A guide to traditional Italian maritime knots — bowline, clove hitch, constrictor — and how their forms translate...
Copyright © 2026 Nodi Lontano. All Right Reserved.